
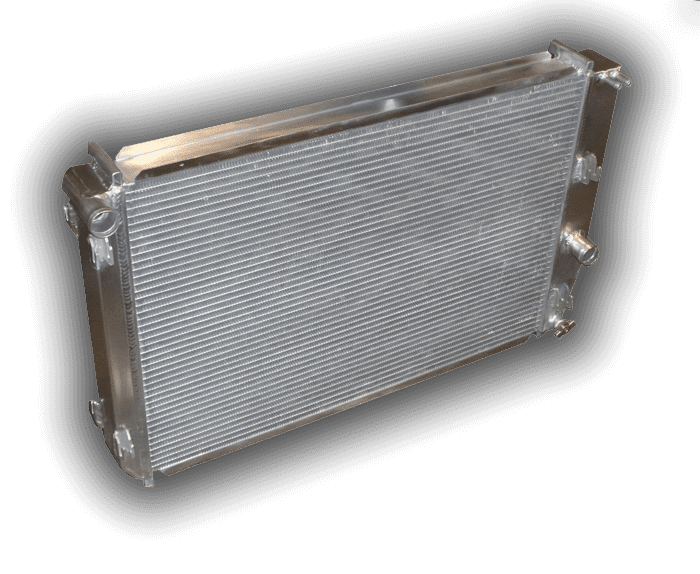
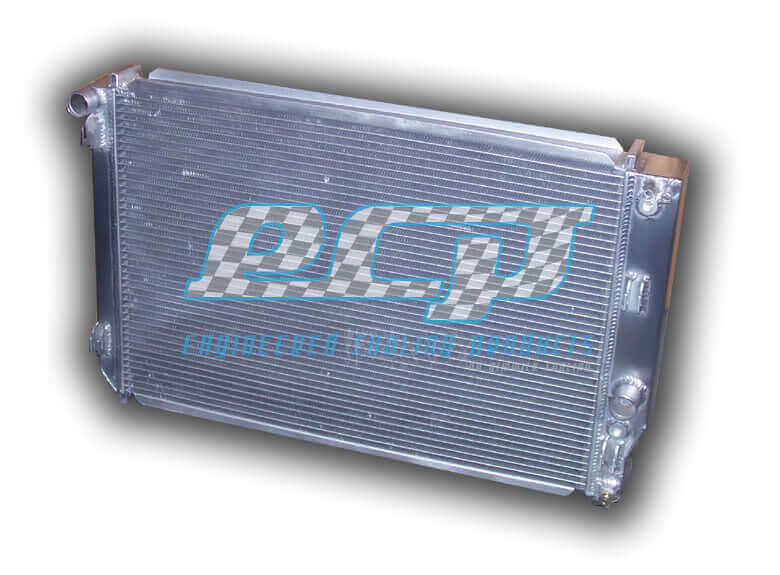
2001 - 2004 Corvette C5 Aluminum Radiator - Quick Disconnect Automatic Transmission
2001 - 2004 Corvette C5 Aluminum Radiator - Quick Disconnect Automatic Transmission
Couldn't load pickup availability
Description:
2001–2004 Corvette C5 Aluminum Radiator – Quick Disconnect Automatic Transmission
Our heavy-duty aluminum radiator for the 2001–2004 C5 Corvette with an automatic transmission and M18×1.5 GM-style quick-disconnect transmission cooler lines. It does not fit earlier C5s that use inverted-flare cooler line fittings. For those cars, see our 1997–2004 Corvette C5 Aluminum Radiator – Automatic Transmission.
Three different transmission cooler fittings were used on 2001–2004 Corvettes: inverted flare, GM-style quick disconnect, and Ford-style quick disconnect. This radiator works with the GM-style quick disconnect only. See the guide below to identify yours.
Features
- All-aluminum construction with a heavy-duty 2-row core of 1.0" tubes and a higher fin density than performance radiators costing 3 times as much
- Heavy-duty transmission cooler for automatic applications
- Includes ECP GM 3/8" quick-disconnect adapters
- Fully TIG welded with no epoxy
- Upper and lower hose connections: 1-5/16"
- Overall dimensions: 28" wide × 18-7/8" tall
- Core dimensions: 24-3/4" wide × 17-3/8" high
The radiator has a natural aluminum finish. The unit pictured was cleaned with Scotch-Brite and Never Dull for photos.
TECH NOTE · 2001–2004 CORVETTE C5 · AUTOMATIC TRANSMISSION
Which M18×1.5 cooler line fitting does your Corvette have?

FRONT VIEW · RADIATOR / SEAL SIDE
Identical on both quick-disconnect fittings
Both versions screw into the radiator with an M18×1.5 thread and seal with the same red/black face seal. This side can't tell you whether our radiator will work. Turn the line over and look at the back, where the steel line enters the fitting.


Use the right tool for your fitting
GM QUICK DISCONNECT TOOL
GOLD SPLIT COLLAR · FOR STANDARD GM 3/8" QUICK DISCONNECT TRANS LINES

Clamps around the steel line, then pushes into the back of the fitting to spread the spring clip. This is the tool for a C5 Corvette with the GM fitting, which works with our radiator.
FORD QUICK DISCONNECT TOOL
SILVER SCISSOR TOOL · FOR FORD-STYLE QUICK DISCONNECT TRANS LINES

Releases the tabs inside a Ford-style fitting. The two tools are not interchangeable, and a Ford-style line won't lock into our adapter even once it's out.
Removing the line with the GM quick disconnect tool
The gold GM tool is about $10 on Amazon. Work on one line at a time, with a drain pan ready for a little fluid.

GM TOOL CLAMPED ON THE LINE AND PUSHED INTO THE FITTING
- Clamp the tool around the line. Open the gold collar and close it around the steel line just behind the fitting, stepped face toward the fitting.
- Push it into the fitting. Slide it along the line and press it firmly into the back of the fitting. That spreads the spring clip off the bead on the tube.
- Pull the line out. Keep the tool pressed in and pull the line straight out. The factory fitting stays in the old radiator.
- Install in the ECP adapter. Push the line into the included GM 3/8" adapter until it clicks, then pull back to confirm it's locked.
